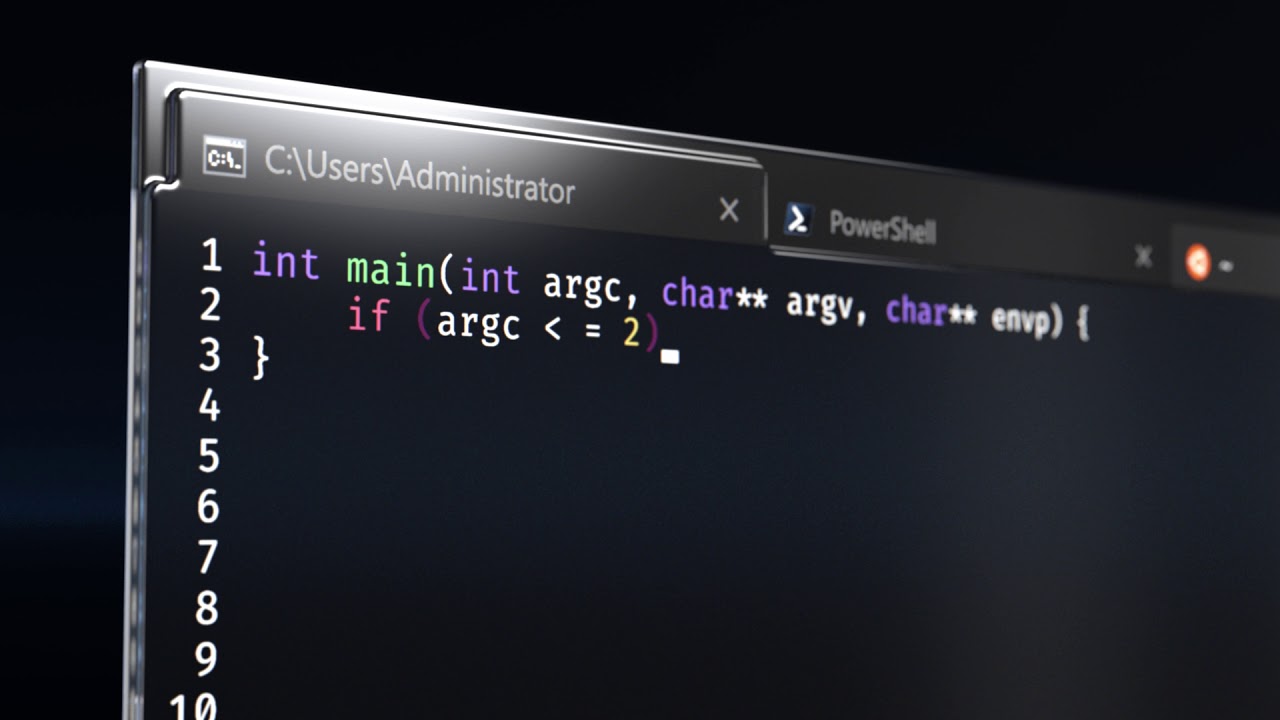
Microsoft announced the release of the new windows terminal back in May this year with an eye-catching video. And it’s opensource.
WARNING!
It’s still in preview.
Prerequisites
-
You should be on atleast Windows Version 1903 (build 18362) or later.
-
Desktop Bridge VC++ v14 Redistributable Package (For Manual Installation)
Installation
There are three methods of installing the Terminal.
-
From Microsoft Store (with automatic updates)
Go over to Microsoft Store and search for Microsoft Terminal.
-
Manual Installation
Head over to the releases page on GitHub repository, grab the installer and install it as any program.
-
Chocolatey (Unofficial)
You can also install using chocolatey.
Just open Command Prompt or PowerShell and
Enter the following command to install
choco install microsoft-windows-terminalUse this for upgrading to new version
choco upgrade microsoft-windows-terminal
Setup
After installation, you will see the new terminal and it opens a powershell window.

Click on the dropdown button and go to settings or Ctrl + , for those who prefer shortcuts. You will be asked to choose a text editor if there is no default for json files. There is no GUI for settings yet. So you have to use a text editor for now.
I personally use VSCode you can use whatever you want.

I’ve already made a few changes.
You can use images for background or solid colours by changing the value of background to an image location or Hex color codes. You can have different backgrounds for different profiles (like for cmd, powershell, wsl…).
You can also set icons for different profiles. For example, all distributions you might have installed in WSL show the same image. You can add a different icon for different distros.


You can change fonts and it also supports font ligatures. You can create many profiles for the same Command Prompt or PowerShell.
To get more idea hold " alt " while clicking settings button. You will see default settings with their values. You can use those settings and change their values in profiles.json file.
Worth it
ReplyDeleteIts very very helpful